It’s Time to Put a Cap on It

With thirteen days left in the school year, seniors are buzzing with excitement to finish their fourth-year chapter and begin a new book. Senioritis has been consuming us for a while now and it’s finally time to unwind and enjoy our last days before going out into the real world. So what better way to unwind than by decorating your graduation cap? Grab some art and craft supplies from Michaels or use whatever you have at home to create a beautiful and personal memento that showcases your personality at graduation.
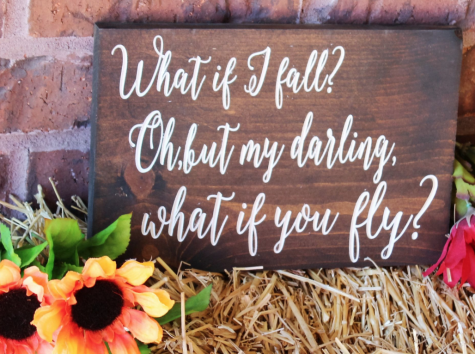
In decorating my cap, I decided to research quotes and pictures of decorated caps that inspired me to make my own and this is what I came up with…
Step 1. After I found a quote that meant something to me I made my way to Michaels to pick out the perfect supplies to decorate my cap.
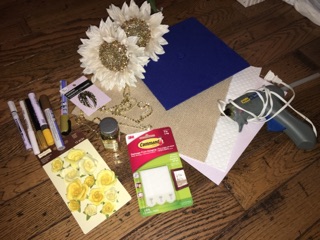
Step 2. I got card-stock, sunflowers, roses, paint pens, glitter, rhinestone trim, velcro command strips, and hot glue.
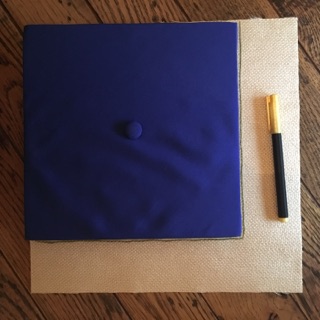
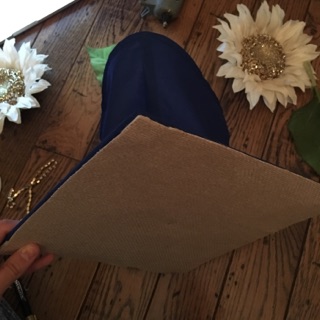
Step 3. Measure and trace the cap onto the card-stock and cut it out.
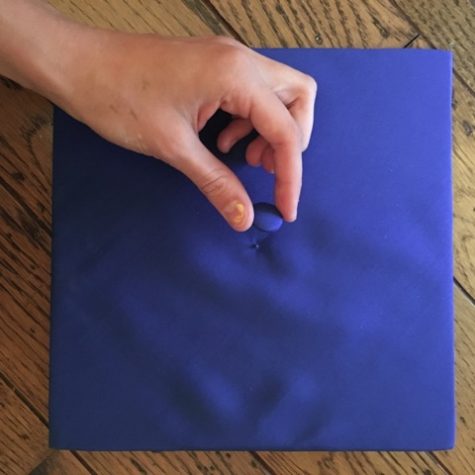
Step 4. Unscrew the top middle button so that you can place the card-stock onto a flat surface.
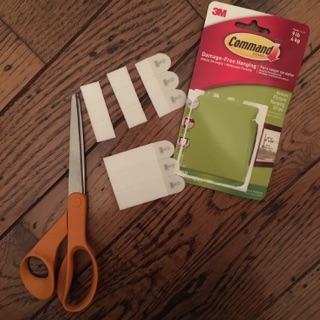
Step 5. Cut your velcro command strips into thirds. You should get little squares
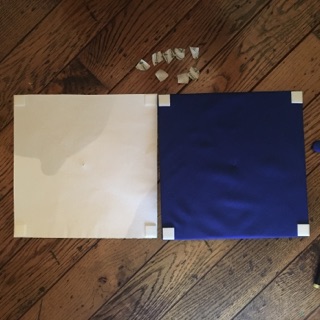
Step 6. Peel the back sticker off the command strips and stick them onto the corner of the cap and card-stock
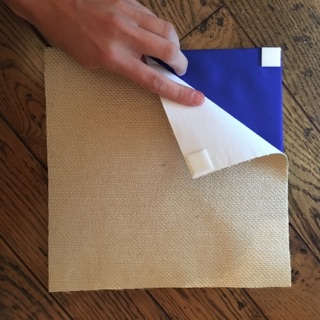
Step 7. Align your cap and card-stock and snap the two together in place.
Step 8. ***Before you begin decorating make sure the peak of the cap is pointed up so that your decorations are not upside down later on when you put the cap on!***
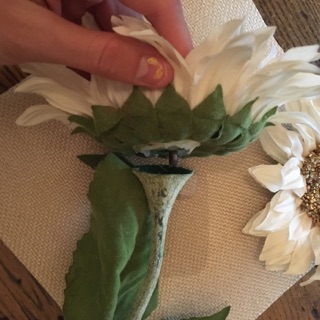
Step 9. (Optional step if you are not using any fake flowers) Detach your flower from the stem and cut off any excess plastic that is sticking out or preventing a flat surface.

Step 10. ***Before you glue everything down, make sure to plan out your design, to have it just the way you want it and to avoid any mistakes. Planning first makes it easier to execute later on.***
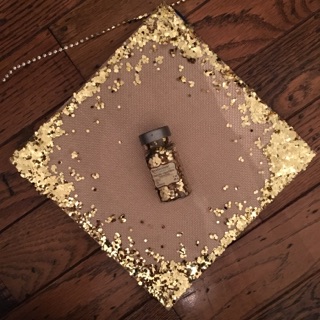
Step 11. Add any accents, borders, or trims before gluing the rest of the pieces down.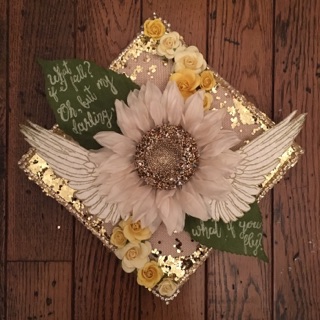
Step 12. Use hot glue to glue everything down and voila! You are done! (I decided to write my quote on the leaves because of the lack of space due to my large decorations).
***DISCLAIMER***: This is my graduation cap that I’ll be wearing at our graduation. Please do not copy it because I worked super hard on it to make sure that it was unique and fit me personally. I used MY creativity and gave you a few helpful tips on how to decorate a graduation cap so now it is your turn to use YOUR imagination to decorate a cap that defines who you are! Happy Crafting! Can’t wait to see all the beautiful caps on June 20!

Q:What are three words you would use to describe yourself? A:Amanda describes herself as an open minded, creative, and positive person.
Q:What do you...